Posts in Education
10 Tips for Photographing Your Own Newborn During COVID-19
 
How to take Newborn Photos at Home.png
 

This has been a challenging time for so many people due to the COVID-19 pandemic, and I’ve been specifically thinking of the families who’ve had to forgo their plans of a newborn photography session. If you are one of those families, I can’t imagine how many other plans you’ve had to rearrange, and I know how difficult this time may be.

If you are not able to have a professional photographer during this time, I want to provide some free help and encourage you to try taking your own newborn photos at home! Your baby’s first few weeks of life goes by so fast, and will be full of moments you’ll want to capture and keep forever. Here are my top 10 photography tips on how to capture newborn photos at home so you can still have beautiful memories you can cherish!

10 Tips on How to Nail Your DIY Newborn Photography at Home:

 
Durham-Newborn-Photographer-42.jpg
 

1) Take newborn photos within the first two weeks.

I highly recommend to capture photos within the first two weeks from your baby’s birth if possible. Even though I know you and your spouse will be sleep deprived and trying to adjust to a new rhythm, it will be a little easier capturing photos of your baby. Your newborn will likely be sleeping a lot, making it easier to hold them and cuddle with them. After the two week mark, most babies tend to become more alert, wiggly, and fussy, which makes it a little harder to take photos if you do not have a professional photographer on hand.

 
Raleigh-Newborn-Photographer-16.jpg
 

2) Find the room with the most natural light in the house.

Lighting is EVERYTHING. No matter the subject, the light you use will make a significant difference in your photos. When I’m shooting at homes, I often look for soft natural lighting. Often times I’m looking for rooms with large windows. Which room in your house gets the most natural lighting? What time of day does that happen? Trust me—this will make a huge difference in your photos!

 
Durham-Newborn-Photographer-51.jpg
 

3) Keep the room warm.

Having a cozy, warm room will help your baby stay comfortable during the shoot. I know some photographers like to keep rooms at a certain temperature (some recommend as high as 78 to 80 degrees), but I suggest to just keep it cozy and comfortable. Just make sure your room isn’t drafty or chilly! Also, consider using a white noise machine or app. The soothing sounds can help keep your baby stay asleep while you’re taking photos.

 
Durham-Newborn-Photographer-6.jpg
 

4) Feed your baby before shooting.

Make sure your baby has a nice, full belly before the shoot! It will help keep your baby happy and comfortable while you take photos. I always like to say happy babies make happy photos!

 
Raleigh-Newborn-Photographer-Lifestyle-Session-At-Home-85.jpg
 

5) Keep it simple.

To me, less is more. Keep your poses simple. Keep your background clean. Go for baby-led posing. Don’t try and force them into unnatural poses or try putting them in a basket. If they flop their arms out when they’re sleeping, that’s ok! It’s genuine and real. The beauty in the simplicity will keep your photo looking modern, natural, and clean.

 
Durham-Newborn-Photographer-At-Home-39.jpg
 

6) Get in close. Capture the details.

Get your camera close to your subject. For example, capture details like your baby's fingers and toes! Babies grow so fast and capturing these little details are so important; it will help you remember how small and tiny they used to be. Don't be afraid to get in close and "fill the frame" so you can really highlight the small details!

 
Raleigh-Newborn-Photographer-Lifestyle-At-Home-68.jpg
 

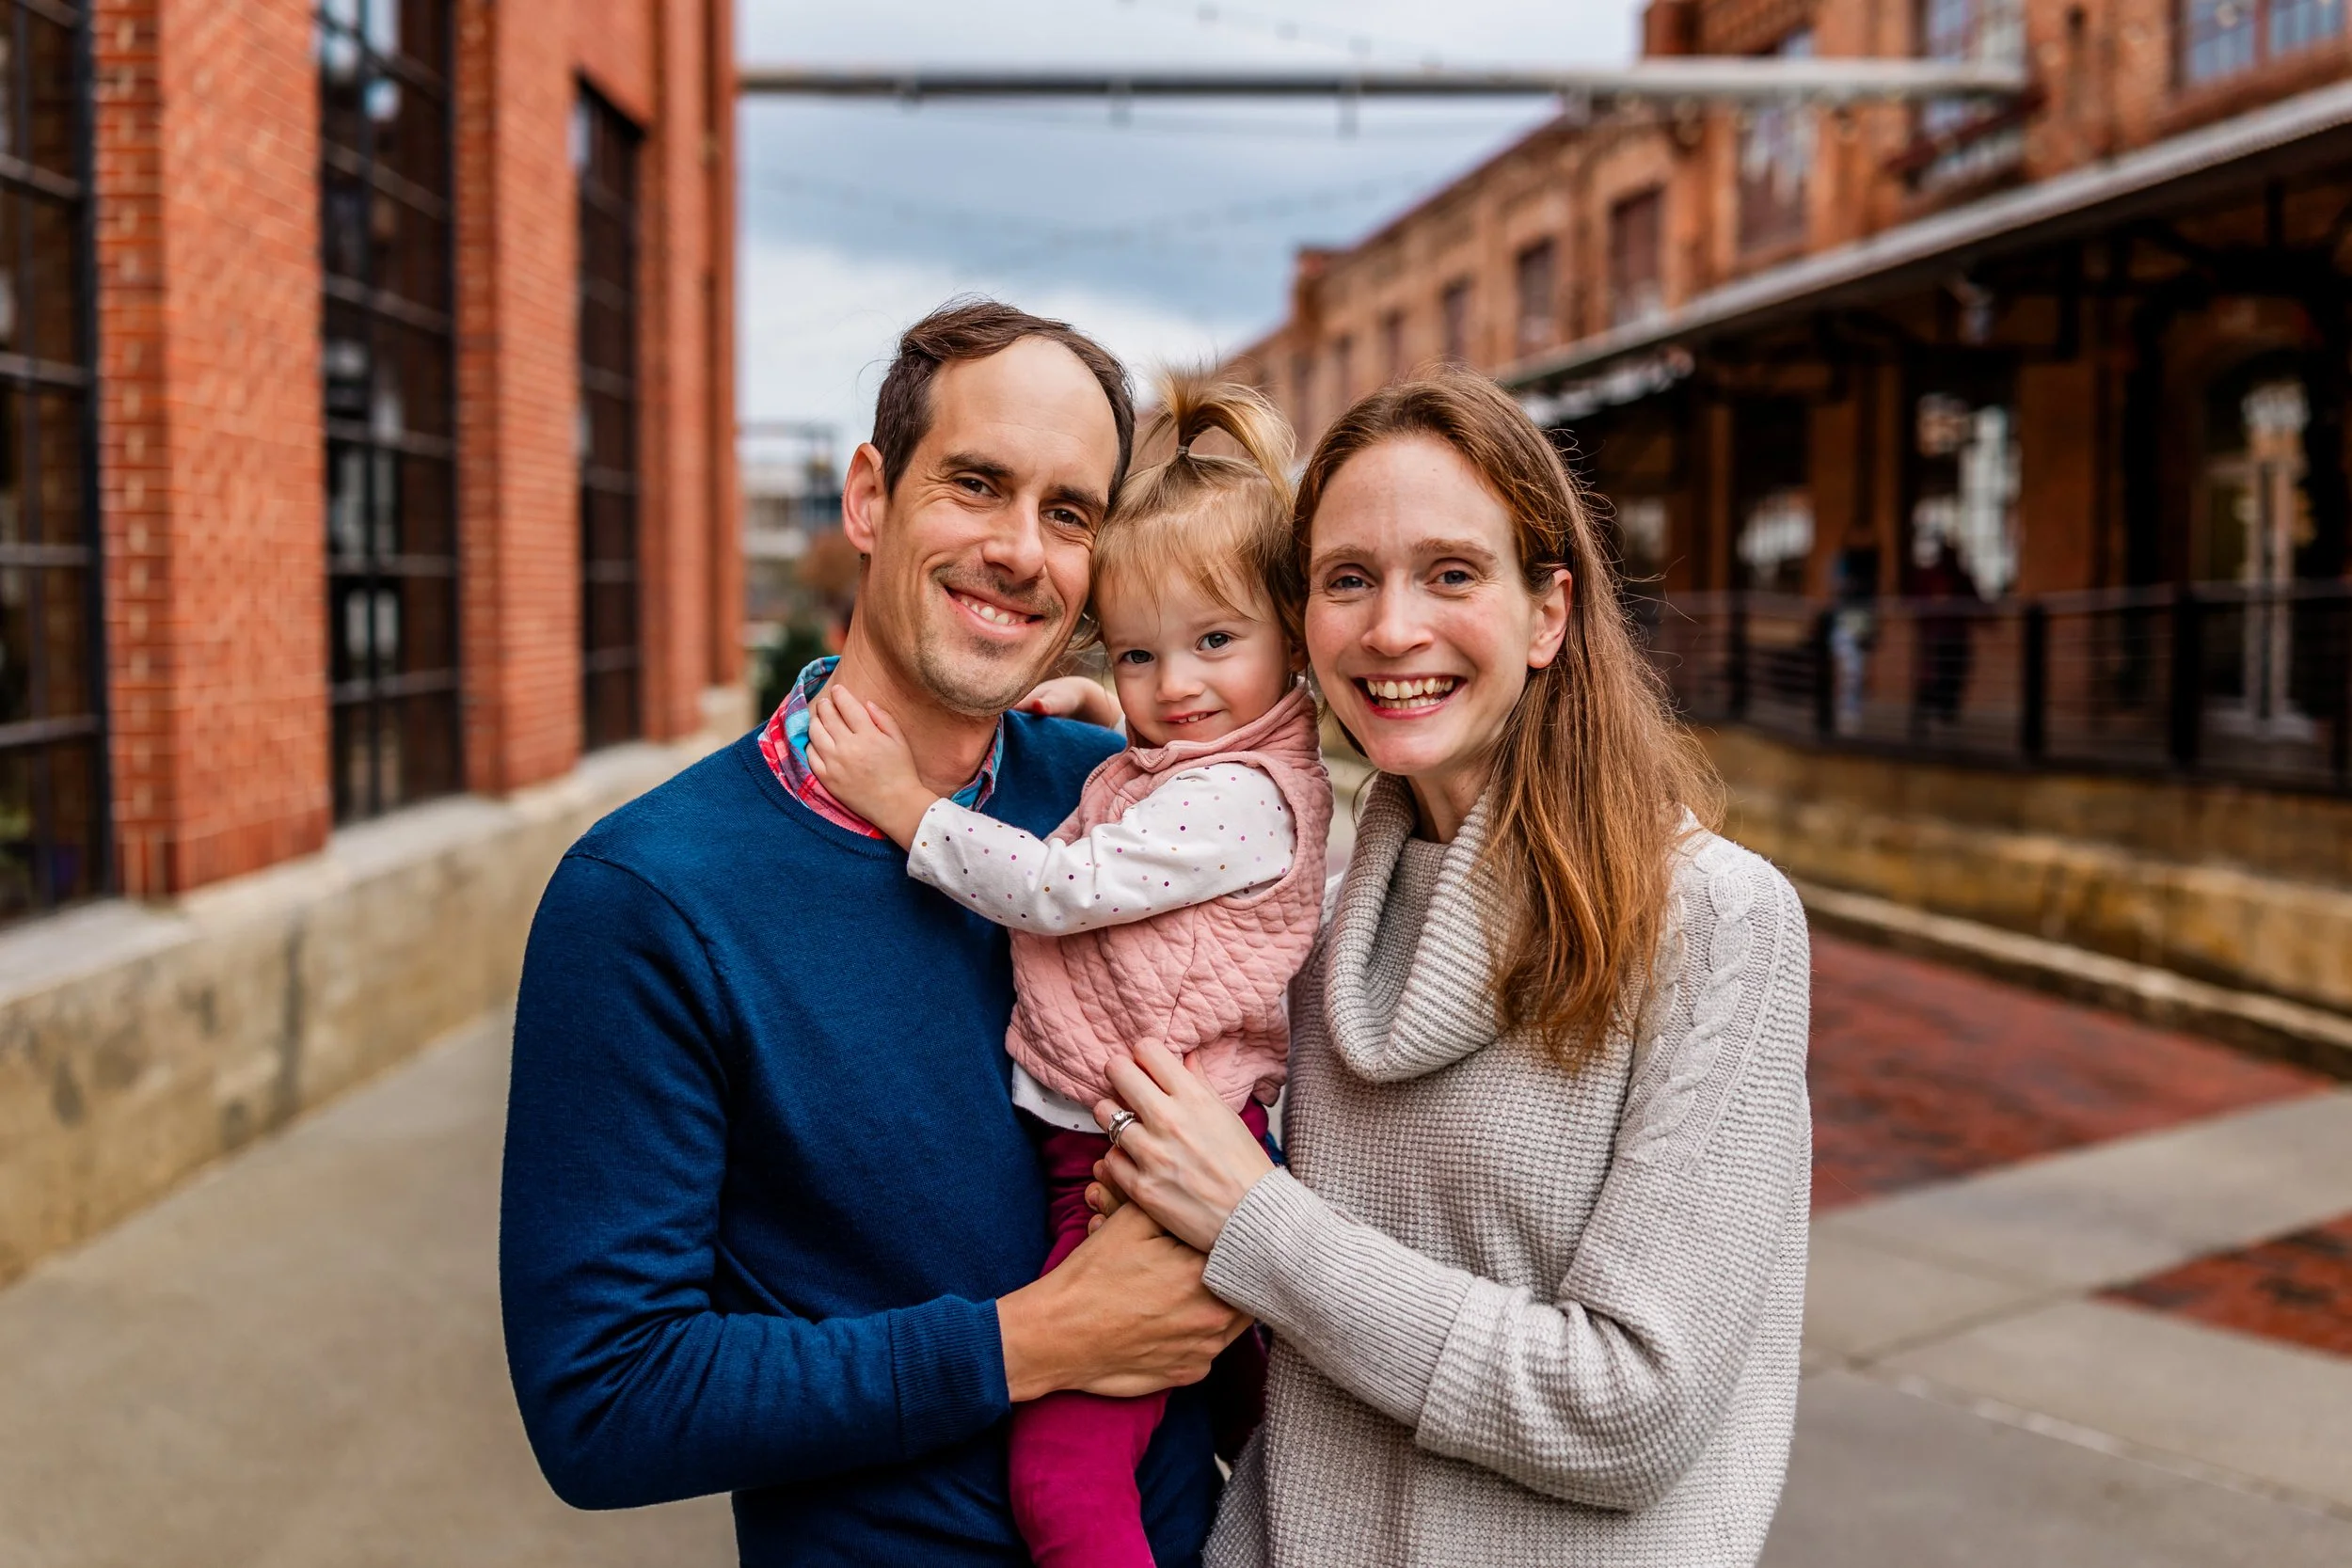
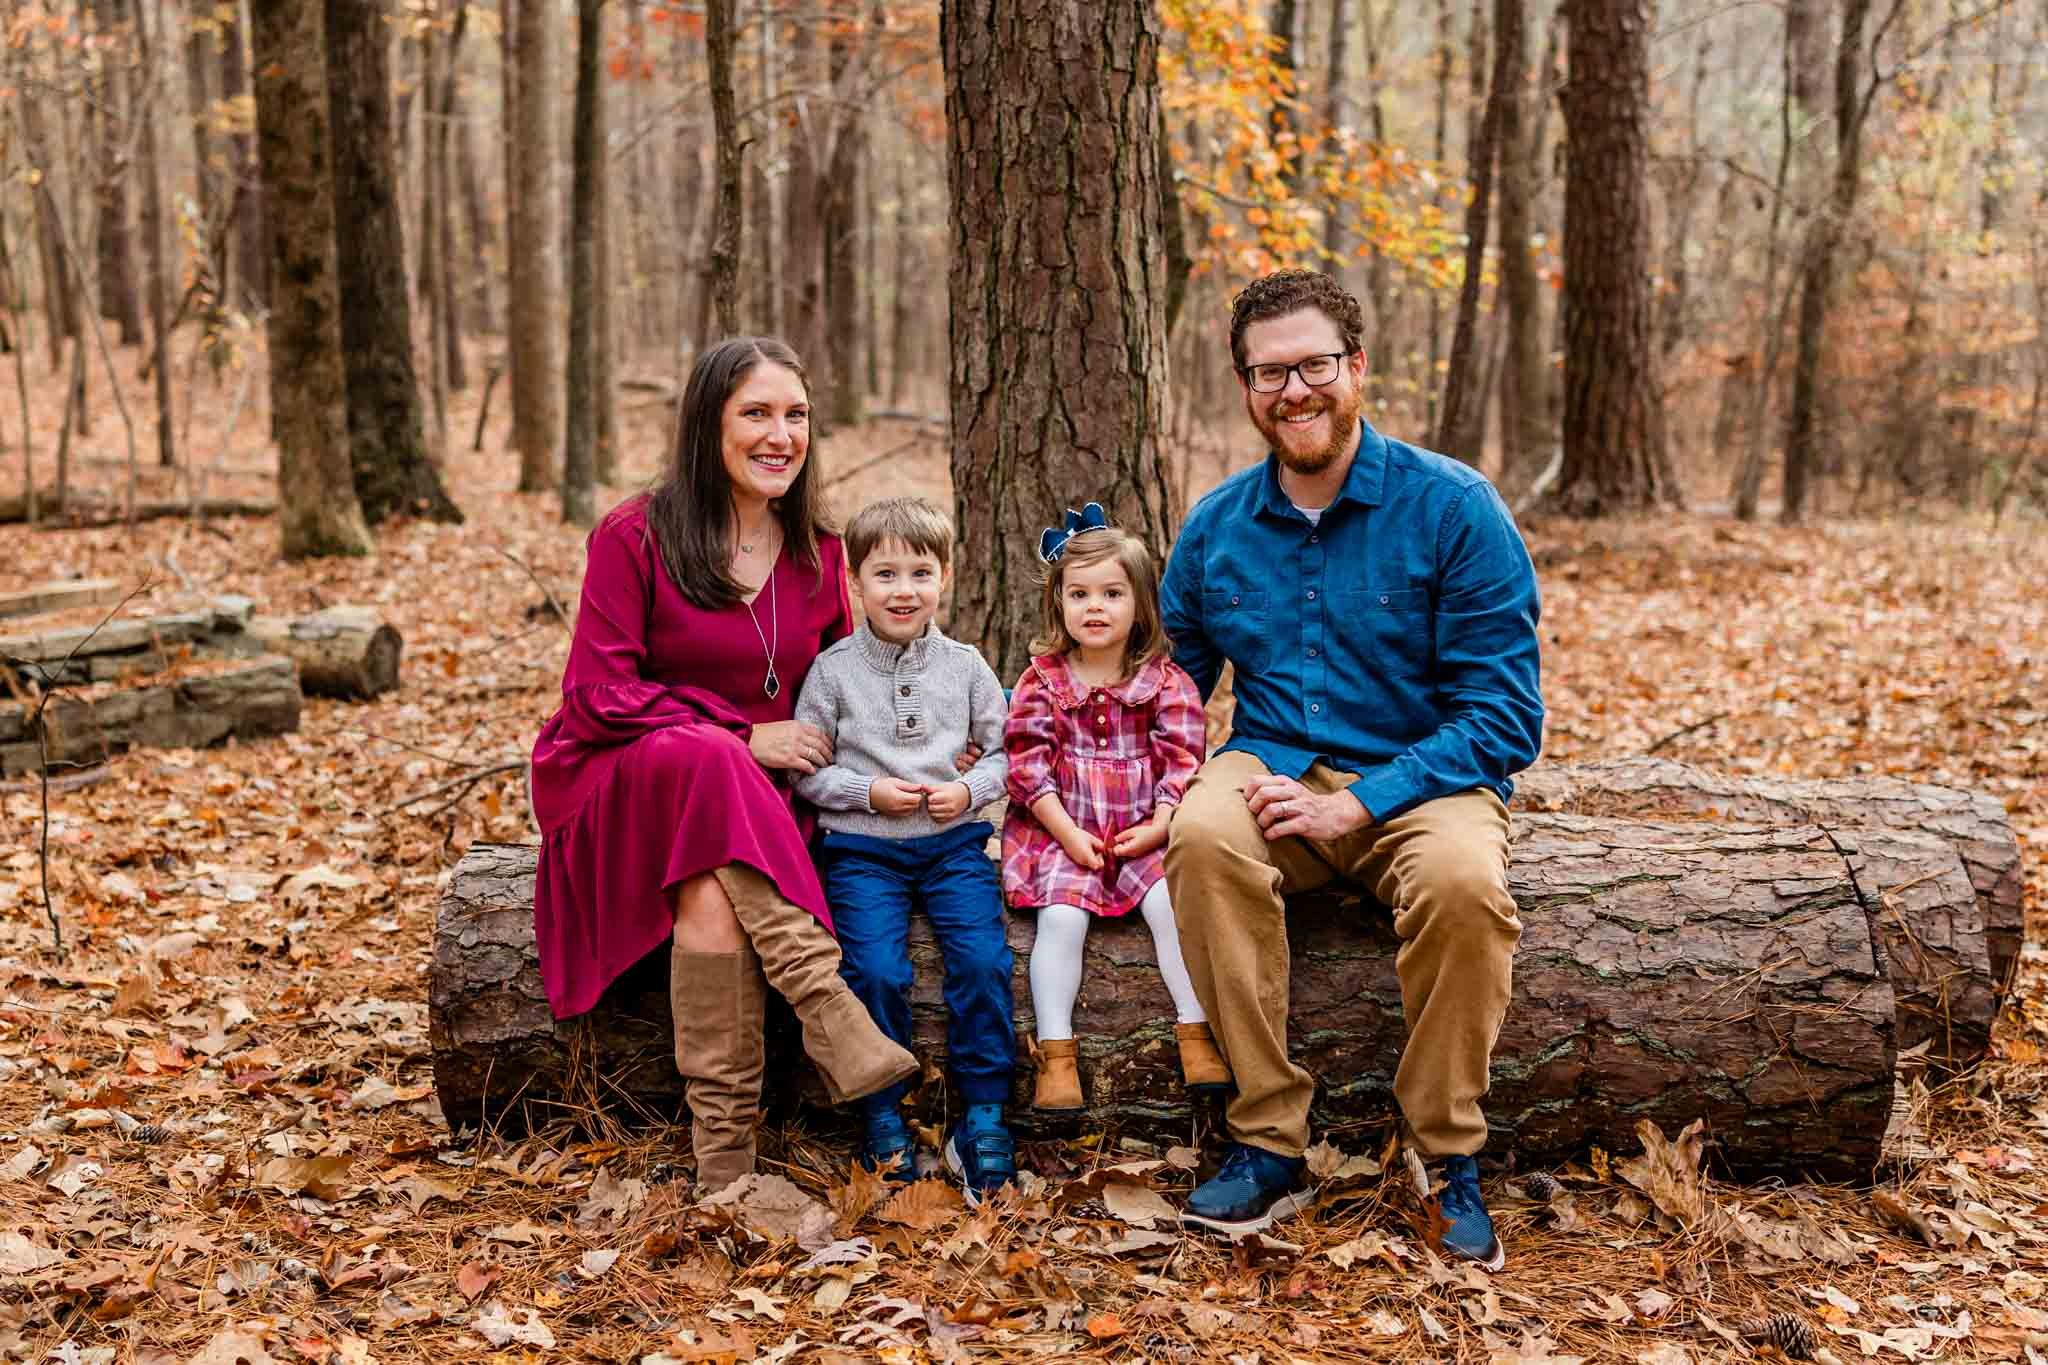
7) Don’t forget a family photo!

Do your best to get a photo of the WHOLE family. If you have older siblings and/or pets, do your best to get them in the shot—your family is not complete without them! Kids and pets are often wiggly, so try interacting with each other instead of getting everyone to sit still. Maybe sing a song or read a book together while you’re all sitting on the couch!

Also, setup a tripod or lean your camera on something so that you can be in the photo. Set a timer, and then go for it!

P.S. If you have an Apple Watch and iPhone, you can control the camera and timer from your Apple Watch! Learn more here >>

 
Raleigh-Newborn-Photographer-Lifestyle-At-Home-9.jpg
 

8) Shoot near a window. Turn your subject’s face towards the light.

Shooting near a window creates soft, diffused light, which is beautiful and flattering for portraits. The closer you get to the window, the softer the light will be. Try it out!

Also, remember to face towards the light source so your face can be illuminated and not hidden in the shadows. I usually like to shoot perpendicular to the direction of the light source so that I can capture both the light and shadows—this will help create dimension to your image.

 
Raleigh-Newborn-Photographer-7.jpg
 

9) Display affection in your photos (snuggle, kiss, and laugh!).

To avoid flat, stiff, or boring photos, show emotion in your photos by snuggling with one another, kissing your baby on the cheek, or laughing together! It may feel funny or awkward at first, but it truly gives LIFE to your photos. Your display of affection shows your love and connection as a family.

 
Raleigh-Newborn-Photographer-Lifestyle-Session-At-Home-13.jpg
 

10) Complement your clothing. Go for neutral colors.

Don’t forget to coordinate your outfits! Complement your clothing and go for a comfy and cozy look. Neutral colors are also an excellent choice for newborn sessions. A popular color palette is wearing creams, grays, and blues. Stay away from large logos (or any writing, if possible), and avoid black and neon colors as they tend to look heavy and distracting in photos.

 
Raleigh-Newborn-Photographer-Lifestyle-41.jpg
 

Bonus Tip: Share your plan with your family.

Communicating your plan with your family is so important and often forgotten! Set the expectations ahead of time with your spouse and kids, and let them know why you are doing this, when you’re doing this, how they can help! You can get them excited by saying you’ll be having a “Family Picture Day” to celebrate the newest addition to your family :) Getting them excited will definitely help make the shooting process easier as you capture this special season of life.


Captured the moments, but need help editing? Let me know!

I would be happy to help and offer my professional editing and retouching services to all parents who have been affected by the COVID-19 situation. Whether you used your iPhone or DSLR, or feel like your images are “bad” or “good,” feel free to contact me! Please shoot me an email at genevieve@glinphotography.com or fill out the contact form, and I’ll provide you a quote based on your needs.

3 Tips for Getting Sharper Photos | G. Lin Photography Education

Hey friends! Are you struggling to get clear, sharp photos with your DLSR? This is probably one of the top questions I get from clients or friends, and I TOTALLY remember wondering the same thing when I started out. I was frustrated that I was getting "soft" or blurry photos, and was on a mission to learn how to get crisp images. I've learned it's all about controlling your body and your camera. Here are 3 easy tips that you can use today to start getting sharper photos!

1. Stabilize Your Body and Hand.

Seems like a no-brainer, but this is one of the most common reasons photos turn out blurry! If your hand isn't steady, you're basically adding motion to the camera, which will cause blur. Since most of us take photos hand-held and with no tripod, your camera will be more prone to camera shake. To reduce any camera movement, make sure you are holding your camera properly. Place your left hand underneath your camera body, around the base of your lens barrel, and keep your arms as close to your body as possible.

Here's another bonus tip: lean on something stable. This can be as simple as a wall, couch, fence, or tree! Leaning on something that's already stable will help support you and minimize any swaying. As you can see in the photo below, I chose to lean against the couch during a lifestyle family shoot.

Just remember, you are a human tripod. Get creative and constantly look for ways where you can minimize any body or hand movement.

 
Photo of me using the camera | Family Photographer in Raleigh NC | By G. Lin Photography
 

2. Switch to AF Single Point Focus.

Most DSLR cameras have 9, 11 or more autofocus points, and the AF Point Selection is normally defaulted to "Automatic Selection." That means the camera will use all of the AF points and decide which of the autofocus points to use, and you do NOT want this! Your camera can't choose the correct area to focus unless you tell it where you want to focus. The only way to guarantee accuracy, is to switch the AF Point Selection to "Manual Selection" (as seen in the photo below using a Canon 6D). You can then select the single AF point you want and tell the camera where to focus. This will ensure your camera will accurately focus where YOU want it to focus!

 
Close up shot of camera settings | Durham Family Photography | By G. Lin Photography
 

3. Use a Higher Shutter Speed.

I recommend using a minimum shutter speed of 1/125 for most situations. A higher shutter speed allows me to capture playful moments or quick action shots when I need it most (like the photo below!). I also recommend to really understand the "exposure triangle," which is the relationship between the ISO, aperture, and shutter speed. To learn more, check out my Pinterest board here for beginners and get a free cheat-sheet!

 
Durham Family Photographer | Mom playing with baby boy outside | By G. Lin Photography
 

Join my FREE photography community!

There you have it! These are three easy tips you can incorporate today, but remember, it takes time and practice to develop good technique. There are other advanced techniques I use, but I don't want to overwhelm you ;)

If you've found this helpful or have any questions, I'd love to hear from you! At the core of my being, I truly LOVE helping people (especially for those who want to become a better photographer!). Feel free to shoot me an email at genevieve@glinphotography.com or join my FREE Facebook group! This is a private group for anyone who wants to learn and chat photography. Whether you’re a hobbyist, photo enthusiast, or a newbie, this is safe place where you can ask questions and get feedback.

Have a great weekend and happy shooting!

-Genevieve

What to Wear for Family Photos: 5 Tips to Coordinating Outfits

As a family photographer, one of the most frequently asked questions I get is, "what should we wear for our family photo shoot?" Deciding what to wear for a family portrait can be daunting and stressful especially if you don't know where to start! I thought I'd write a quick blog post on on how you can plan your outfit as a family, and you can use this as a reference guide for your upcoming sessions. Scroll down to learn about my 5 tips to coordinating the perfect family outfit for your photo shoot!

1. Know your style!

Consider what you normally wear and what style best represents YOU! Do you like a clean and classic look, or are you more preppy and edgy? Or perhaps you like more of a vintage and bohemian look? Also, keep in mind when it comes to lifestyle photography, the idea is to be genuine and authentic. If you are normally a jeans-and-t-shirt type of family, then by all means go for a casual look! In a nutshell, dress in a style that BEST showcases who you are as a family. You'll look and feel more confident during your shoot!


2. Choose a color scheme.

Choose 2-3 main colors and dress within that color palette. For spring and summer sessions, it can get hot and humid, so I suggest wearing light neutral colors (e.g., creams, grays, whites) paired with earth tones to stay cool. This palette tends to complement well with any background! For fall and winter, warm colors (like burgundy, burnt orange, or navy) and neutrals (like creams and grays) are flattering to wear during cooler weather.


3. Wear solids and limit patterns.

Wearing solids tend to look excellent on camera. Incorporating some patterns and prints can look great, too, but make sure it complements the overall look! The key is to strive for a balanced look when wearing patterns or prints; otherwise, things can get too "busy" or distracting. I recommend wearing 75% solids and 25% patterns for a balanced look!


4. Layer your outfit.

Layering is a practical and easy way to build texture and interest in your photos. For example, during the fall and winter, I recommend adding a scarf, vest, cardigan, or jacket. These layers can help you and your kids stay warm during the shoot, and it makes it easy to remove them if you start to get too warm!


5. Consider adding jewelry and accessories to your outfit.

Wearing jewelry and accessories truly adds the finishing touch to your outfits! For example, a dainty necklace or earrings, or a pretty straw hat would be chic to wear and can help complete your overall look. Please note if you have young children, I would recommend wearing stud earrings versus dangly earrings to prevent your child from pulling your earrings :)


Still stuck? Checkout my Pinterest board!

I recommend going to Pinterest for more inspiration and ideas! You can also checkout my Spring and Summer Wardrobe Guide and my Fall and Winter Wardrobe Guide. Pinterest is a great place to help you get a feel for colors and patterns you love as well as trends you like!

Lastly, please don't be shy to ask me for help! As your family photographer, you are always welcome to bounce ideas with me :) Have fun, and I hope this helps you feel prepared, confident, and excited for your session!

-Genevieve