Does anyone else struggle with organizing their photos after a trip? Seriously, what do you DO with all your photos? We just finished up the holidays about a month ago and many of you traveled and saw family. Like most people, you probably took photos during the trip and left them on your phone with plans to get to them later...and end up forgetting about them! I totally get it and admit that I recently finished making our honeymoon album and it took me OVER A YEAR to get to it!
That's why I wanted to share some tips that might make photo organization a little easier for you. Here are some time-saving strategies on how you can make a meaningful photo album efficiently and without breaking the bank!
1. Collect all your photos as soon as possible.
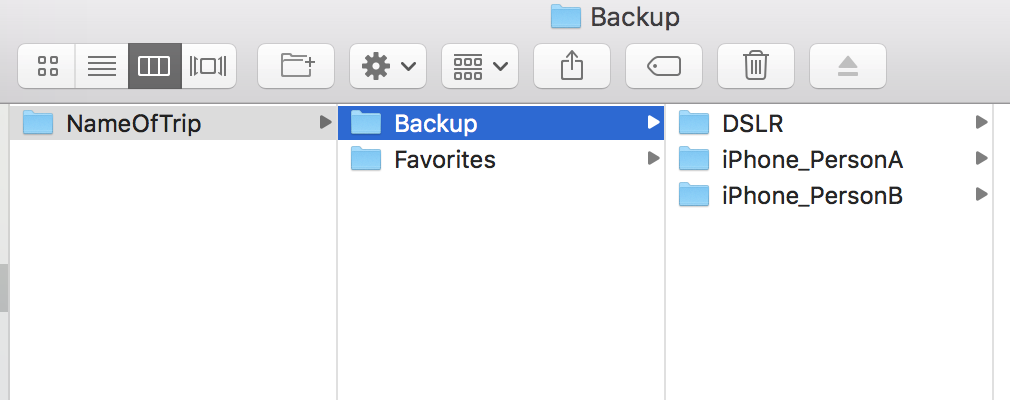
After your trip, try to collect all your digital photos in one place as soon as you can. The longer you delay, the less likely you'll get to them! Gather photos from your phone, your spouse's phone, and your DSLR or other camera if you used one, and store them all into one folder. Then make two subfolders, one called, "Backup" and another called, "Favorites" as seen in the photo below. Your Backup folder will be where you keep the original copy of your photos, and the Favorites folder will be the ones you want to print.
So now the question is: how do you narrow down your favorites? Read my next tip!
2. Choose 20% of your photos to print.
Personally I've found 20% to be a good rule of thumb to follow because it's just the right amount to tell your story without losing any details or being overwhelming. For example, if you went on a short weekend trip and took 100 photos, pick 20 to print. Or if went on a longer vacation and took 500 photos, choose 100 images. Why? Because less is more. You don't need to put every single photo in the album. It can become overwhelming and too long!
3. Buy a traditional photo album at Michaels, Target, or Amazon.
Y'all, if you're making an DIY photo album, I think making a traditional album is faster than making a photo book online (e.g., Shutterfly or Mixbooks). You don't have to spend time designing or editing your layout online, nor do you have to waste time waiting for the program to reload every time you swap out an image or make an edit.
For me, I went to Michaels to buy a classic album with the 4x6 slip pockets because they usually have decent supplies for DIY projects. They also offer coupons frequently, so I used my 50% off coupon and got this album for about $8! Target and Amazon also provide some good album options if you want to explore more designs.
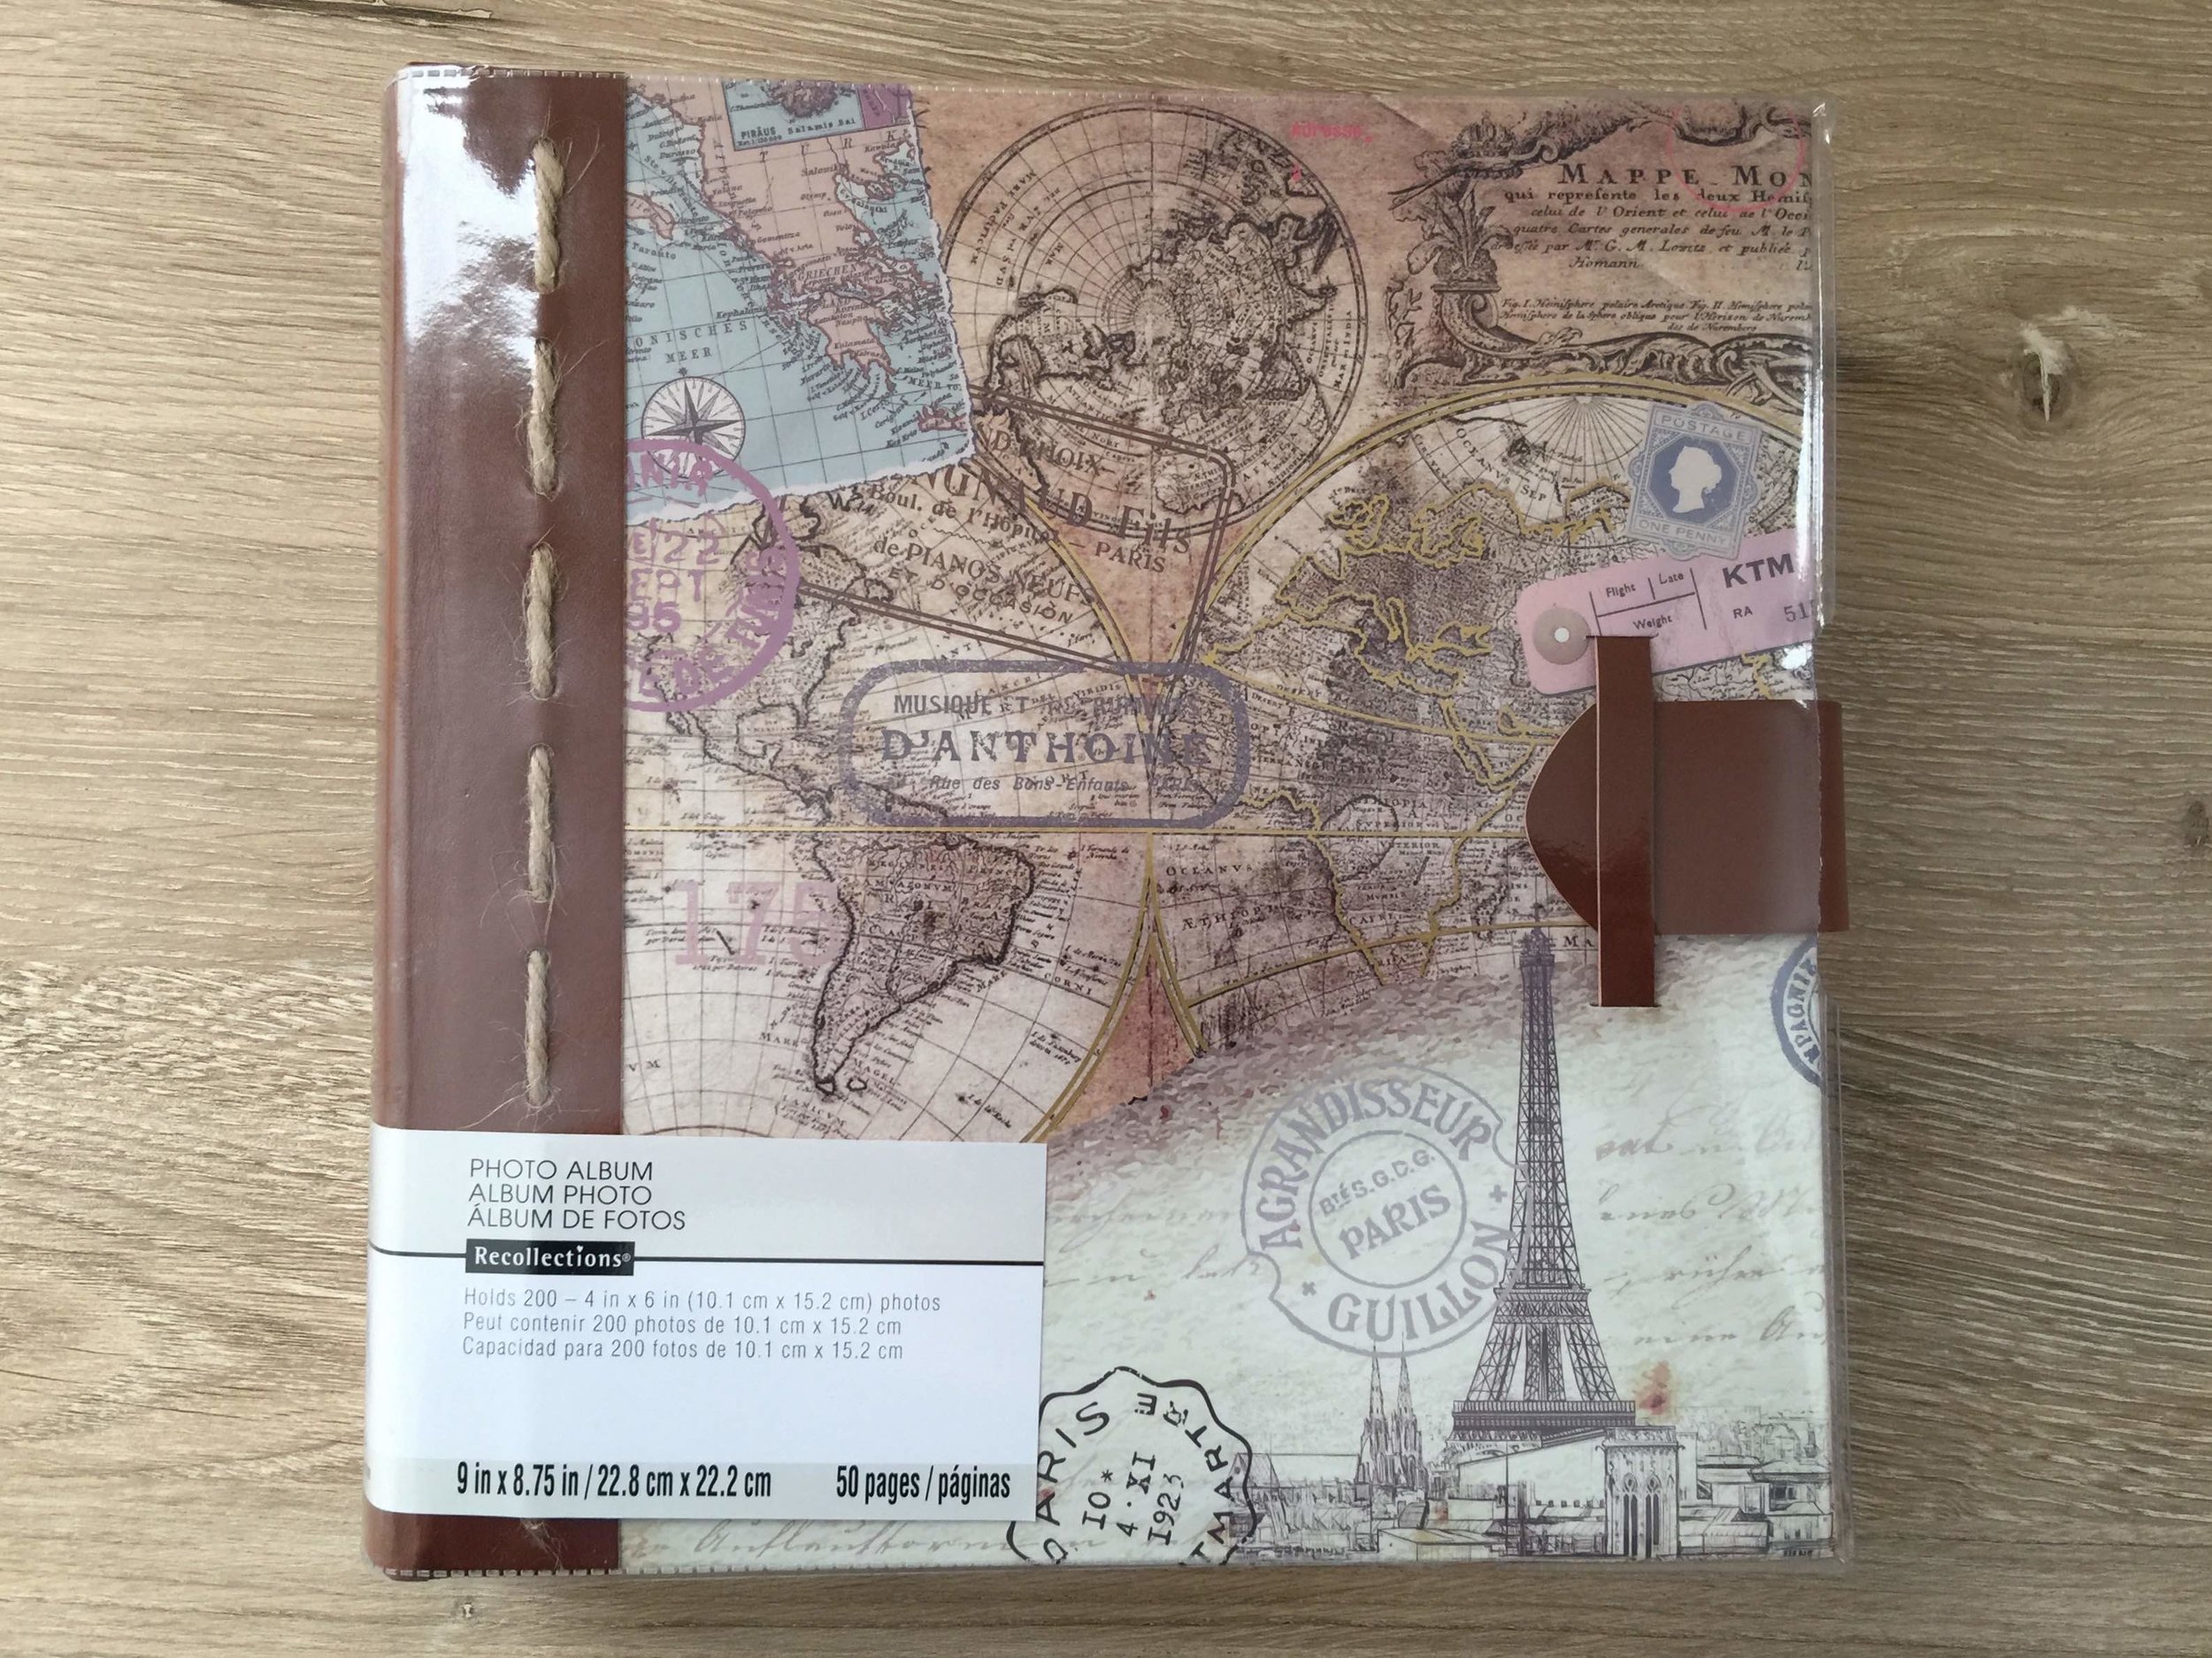
This is the cover of the photo album I bought. I thought the travel theme was fitting!
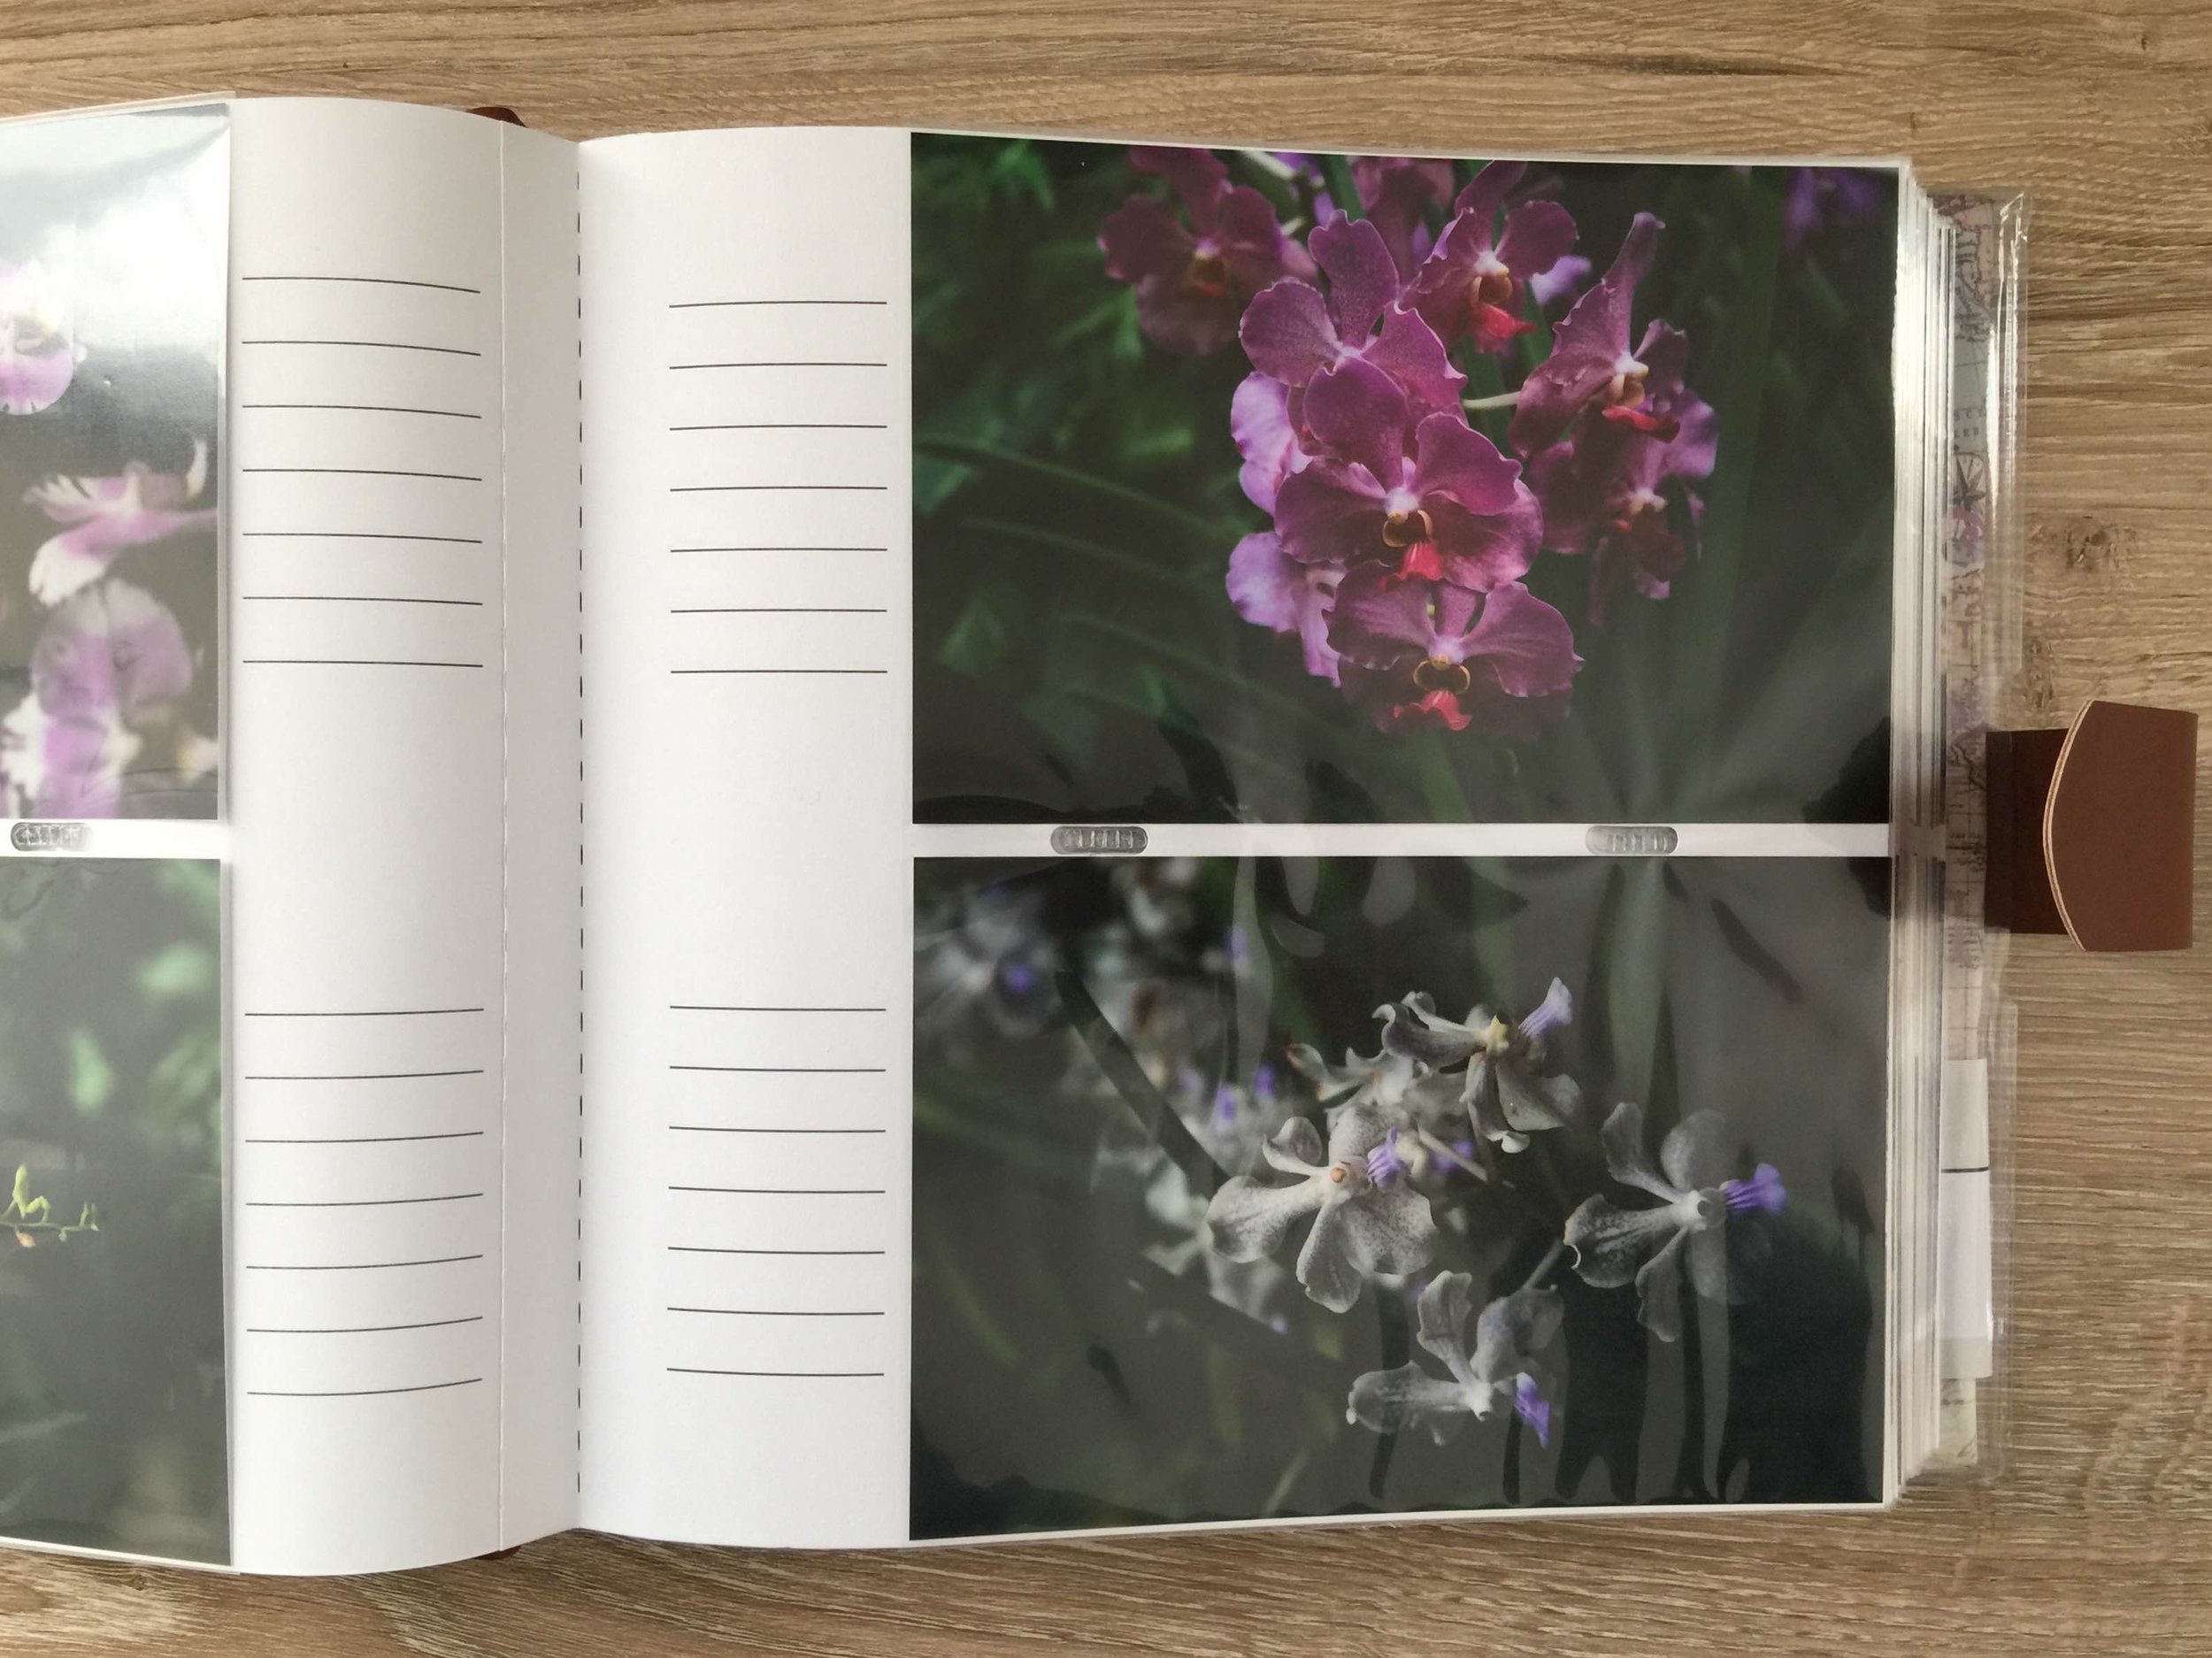
This is what the album looks like on the inside. It includes 4x6 slip pockets, which I like for easy assembly and clean design.
4. Choose Mpix.com as your photo lab.
I've tested a lot of photo labs from consumer labs to professional labs, and I'd say Mpix is one of the best consumer labs for printing everyday photos. I printed my photos on the E-Surface Paper, which is their most popular photo paper. They describe the paper to have "accurate color, lifelike skin tones, archival quality and a traditional photo finish" and I can confirm that it's TRUE! My prints come out true to color, and the quality is comparable to the professional labs I use for client projects. I also like the traditional photo finish, which has a nice sheen as seen in the photo below.
If you're interested to sign up and try Mpix out, you can click here on my referral link and get a $5 coupon!

5. Display your photo album on the coffee table.
So what do you do after you get your prints and album, and assemble it all together? I suggest keeping it on the coffee table! Trust me, people LOVE looking at photos! Next time you have a guest, see if they pick up your album...I bet there's a high chance they'll pick it up and tell you how much they love it!
Remember your photos are more than photos. They are memories. They are the moments in your life you don't want to forget. They are the ones that bring a smile to your face. Isn't that worth displaying in your house?
Now go on and print those photos, and keep those memories alive!
Do you have any tips to share? Share them in my NEW Facebook Group! It's a community for people who want to chat about photography and get more tips and education!